Recent Projects

Custom Aluminum Nintendo Switch Dock

We machined out an improved Switch Dock!

Billet Aluminum Xbox Series X

Taking a massive chunk of Aluminum, we machined out a custom Xbox Series X. It also has a cool transparent green back panel.

Pure Silver Pokemon Silver

Using a $750 kilo bar of .999 Silver, we recreate a functional Pokemon Silver cartridge.

Recent Posts

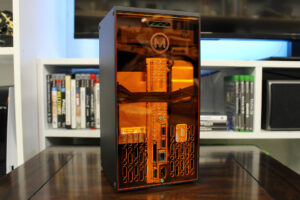
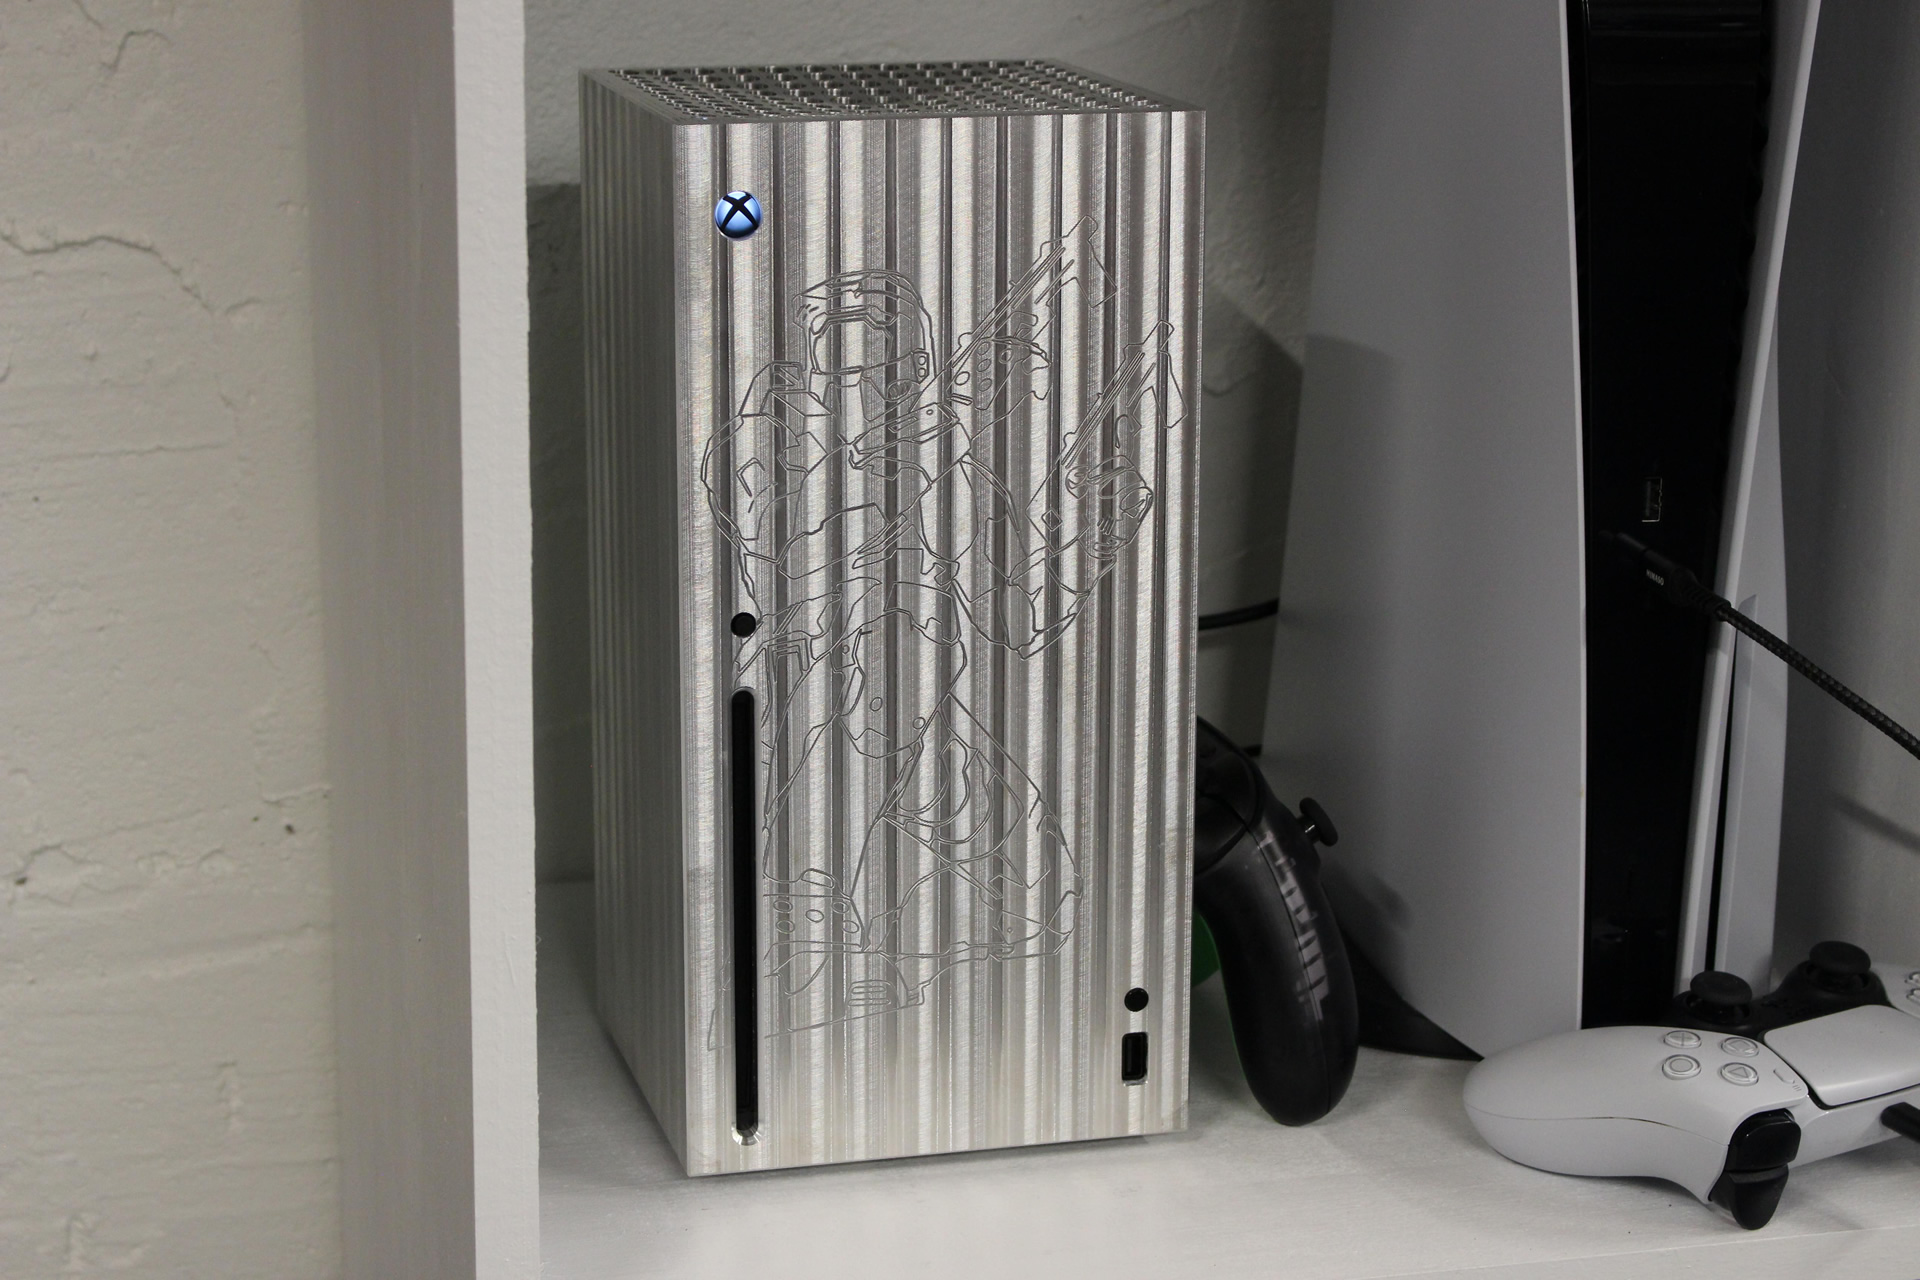
Happy Halloween from the Clear Amber Xbox Series X!
YouTube player

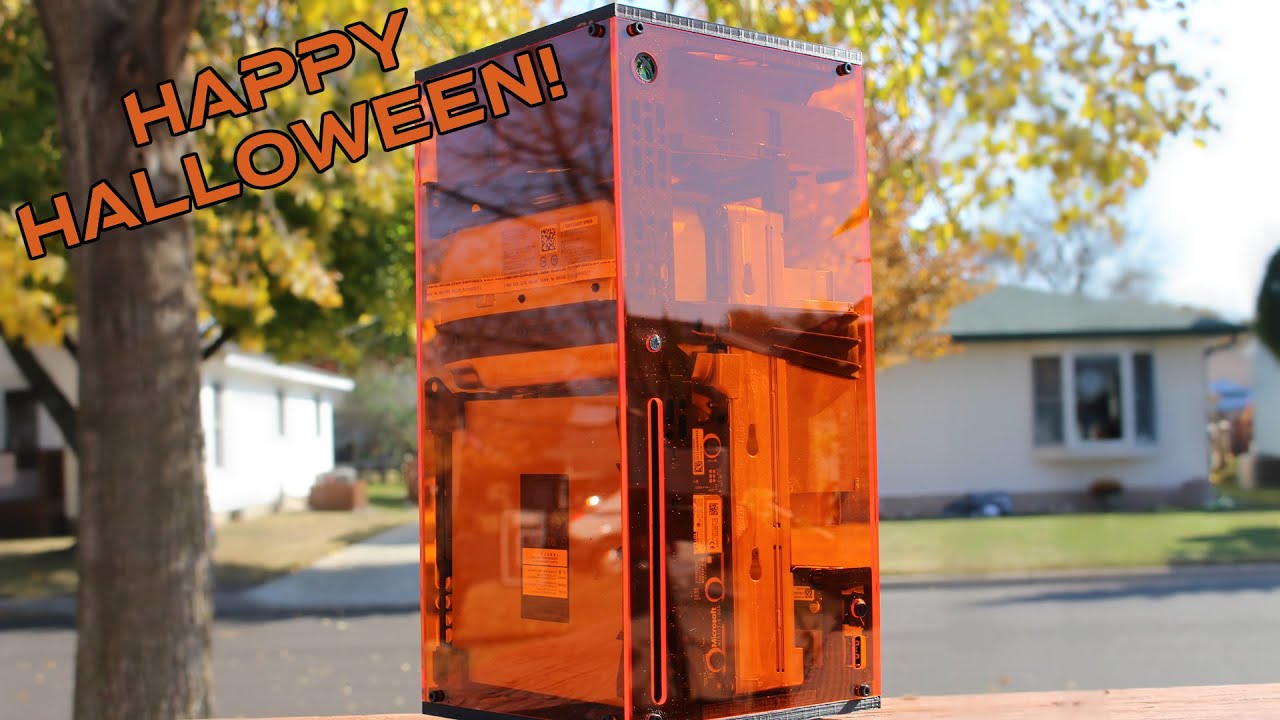
Having done the Aluminum Xbox Series X with its custom transparent green back panel; we next did one for the standard XSX. Naturally, an all clear Xbox was asked for and I sought out to deliver. Halloween Edition! I’ve also made all the files available so anyone adventurous enough can make their own.

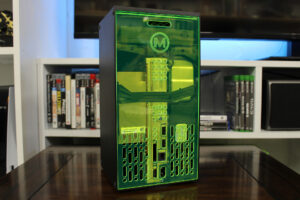
The four sides are cut out of 1/8″ transparent amber acrylic, and the top and bottom and are 3D Printed. The top and bottom are two parts: one part connects the panels and the other mounts to it. This allows for easy customizing of the top and bottom. You can create a new silly design for the top or have your Xbox sit on cat legs. The bottom has the feet and extra hole design I used for the Aluminum XSX.

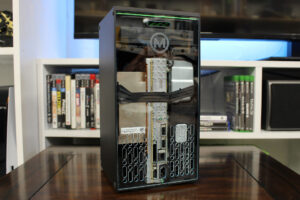
Mounting the Blu-Ray drive, Button PCB, and USB board required recreating the mounts normally glued inside of the stock XSX shell. These mount in the top and bottom 3D printed parts. The Blu-Ray Drive and Button PCB also connect in the middle via teeth. If one were to pry out the original mounts as I did for the Aluminum XSX, I unfortunately cannot guarantee fitment.

I also had to create new buttons, however, you can reuse the stock button that is used for connecting controllers (right above the front USB connector). I cut and pressed in a piece of transparent green acrylic for the power button. It clashes a bit with the amber, but green is iconic when it comes to the Xbox.

It took around 12 hours of print time at 0.3mm layer height for the bigger parts and 0.25mm for the buttons. I slowed down the speeds for the bottom with its 100+ holes.

If you decide to try this mod, I’ve made the files available on thingiverse and at the end of this post. There are printable guides you can tape to the acrylic for hand cutting (prints on legal size paper). You will need a a few things…

Materials:

  • 3 X 12×12″ 1/8th Acrylic Sheets (one extra for mistakes)
  • 20 X M3 x 6mm Screws (along with the original screws)
  • 3D Printer Filament

Drill Bit Sizes:

  • 1/8″
  • 17/64 (H)
  • 33/64″

Equipment:

  • Hand Drill or Drill Press
  • Saw, Laser Cutter or Mill
  • 3D Printer
  • Hand Files

DIY-Xbox-Series-X-Case.zip (7895 downloads)
thingiverse link

Please share pictures of your creation! And remember to subscribe on YouTube!

Making Clear Back Panels for the Xbox Series X
YouTube player

After making the Aluminum Xbox Series X and creating a back panel transparent green, we set out to create a back panel that would work with the stock case. There were many positive comments about it!

This was an easier project compared to the prior and what I have planned for the future. Making something that adds a really unique look is definitely worth it though! The Amber back panel is straight fire.

To achieve make these we had to forgo the clipping mechanism. We retained the top lip for stability and the two screw holes towards the middle/bottom. Due to keeping the lip, we CNC machined the entire panel compared to the previous panel where I just laser cut it on the K40. Doing it this way made a nicer panel with no warpage too!

The panels are made out 3/32″ acrylic. To hold the material so they could be machined required making a jig. I had a leftover piece of 1/2 MDF that I had used to make the bed for my Pick and Place machine. With a little cutting and machining it was a workable fit for machining soft plastic. It has 8 holes: 4 for mounting straight to the bed and another 4 for holding the aluminum brackets that clamp on to the acrylic (they also mount to the bed). There is a pocket for the material to slide into. Believe it or not there’s only about 0.010″ difference across the 18 inches of the MDF jig. Pretty good.

Machining the panels was done with a single tool: 3 flute 1/8 in Carbide End Mill. The CAM program first does all the slots and holes then the engraving and lip profile. Last it cuts out the piece leaving a few tabs to keep it in place. The tabs took a little experimentation as they were either too short or too big. Too small and they don’t machine well if at all, and too big damages the panel when breaking off. We finally got it dialed in towards the last panel. Two panels can fit on a single 12×12 sheet with not much wiggle room.

We cut four colors: Amber, Blue, Clear, and Green. Amber is my favorite, followed be green. The blue is very light; I expected darker more in line with the green. Blue still looks great, in fact, they all do. Which color do you like?

Since I had the program and jig all made, I made a few extra panels you can buy here. Installation is easy: remove screw sticker/covers over the two screws, lightly pry to pop out the rear panel, and put the new panel in. Reuse the same screws you took out.

Check out the video for more, and remember to subscribe!

Saving a broken 70 year old radio destined for the trash
YouTube player

This was a fun project that I did as a gift for my brother’s wedding. I found this broken General Electric T-126A AM Radio off of eBay for $49. I really liked the aesthetic and having the opportunity to at least save the shell seemed like a worthy venture.

It supports Bluetooth 5.0 and 3.5mm AUX input. Total cost came to around $160.

I repurposed the radio tuner knob to attach to the rotary switch of the Bluetooth amplifier board. The knob controls volume and when turned counter clock wise fully will turn off the board. To fit the Bluetooth/speaker amp board required 3D printing a mount that would slide into the original diagonal PCB slot. The back of the new speaker had a cool orange sticker, so I printed the main portion black and made cool orange inserts to match. The Bluetooth amplifier board was mounted on 4 aluminum stand-offs.

The original pull switch for power on/off was disabled; it remains for looks.

The power barrel connector was mounted to previous hole already in the perf board back panel, and the power leads soldered to the side of the barrel connect on the Bluetooth amplifier board. I drilled a hole for the 3.5mm aux connector on the back.

In order to fit the drastically bigger speaker, I took the stock perf panel that held the original speaker and enlarged the speaker hole. Additionally, I CNC Plasma cut two matching panels out of steel, painted, and glued them on both sides of the perf board. It was necessary to support the weight of the new speaker.

The end result turned out really well and it sounds surprisingly well. It thumps for sure. I was concerned about the enclosure to speaker size.

Please check out the video and subscribe if you haven’t already!

List of components: