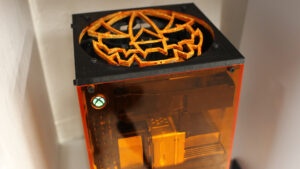
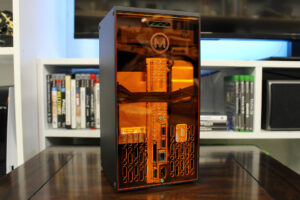
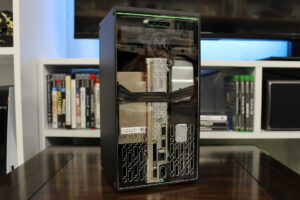
Happy Halloween from the Clear Amber Xbox Series X!

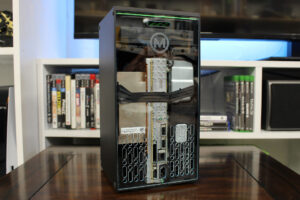
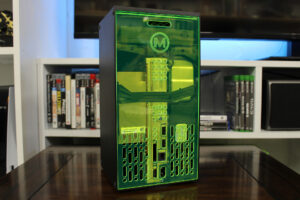
Having done the Aluminum Xbox Series X with its custom transparent green back panel; we next did one for the standard XSX. Naturally, an all clear Xbox was asked for and I sought out to deliver. Halloween Edition! I’ve also made all the files available so anyone adventurous enough can make their own.
The four sides are cut out of 1/8″ transparent amber acrylic, and the top and bottom and are 3D Printed. The top and bottom are two parts: one part connects the panels and the other mounts to it. This allows for easy customizing of the top and bottom. You can create a new silly design for the top or have your Xbox sit on cat legs. The bottom has the feet and extra hole design I used for the Aluminum XSX.
Mounting the Blu-Ray drive, Button PCB, and USB board required recreating the mounts normally glued inside of the stock XSX shell. These mount in the top and bottom 3D printed parts. The Blu-Ray Drive and Button PCB also connect in the middle via teeth. If one were to pry out the original mounts as I did for the Aluminum XSX, I unfortunately cannot guarantee fitment.
I also had to create new buttons, however, you can reuse the stock button that is used for connecting controllers (right above the front USB connector). I cut and pressed in a piece of transparent green acrylic for the power button. It clashes a bit with the amber, but green is iconic when it comes to the Xbox.
It took around 12 hours of print time at 0.3mm layer height for the bigger parts and 0.25mm for the buttons. I slowed down the speeds for the bottom with its 100+ holes.
If you decide to try this mod, I’ve made the files available on thingiverse and at the end of this post. There are printable guides you can tape to the acrylic for hand cutting (prints on legal size paper). You will need a a few things…
Materials:
- 3 X 12×12″ 1/8th Acrylic Sheets (one extra for mistakes)
- 20 X M3 x 6mm Screws (along with the original screws)
- 3D Printer Filament
Drill Bit Sizes:
- 1/8″
- 17/64 (H)
- 33/64″
Equipment:
- Hand Drill or Drill Press
- Saw, Laser Cutter or Mill
- 3D Printer
- Hand Files
DIY-Xbox-Series-X-Case.zip (8029 downloads)
thingiverse link
Please share pictures of your creation! And remember to subscribe on YouTube!
I love creating and building things. I have been doing Mechanical Design and CAM programming for 8 years. I also love Gaming, Electronics and PCB Design.

